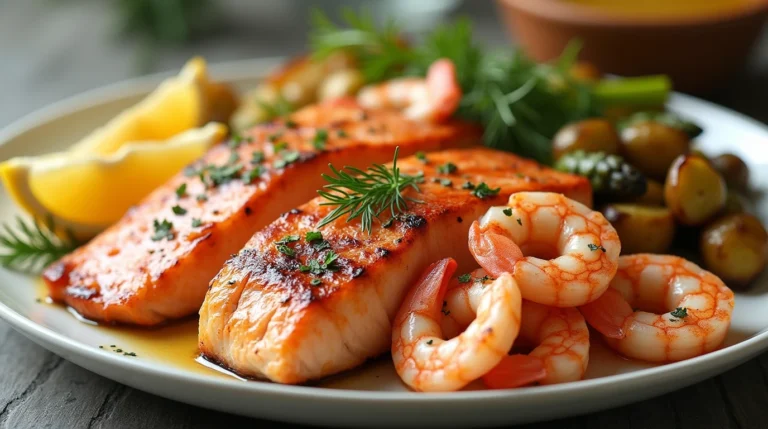
sushi bake recipe salmon
If you love the bold, fresh flavors of sushi but dread the time-consuming rolling process, then a salmon sushi bake is about to become your new favorite dish. This easy-to-make casserole combines everything you love about sushi fluffy rice, savory salmon, and tangy toppings into one convenient and comforting meal. Whether you’re feeding a crowd, prepping for a potluck, or simply treating yourself to a flavorful dinner, this recipe has you covered.
Let’s dive into how you can create this show-stopping dish right in your kitchen.
Table of Contents
What Is a sushi bake recipe salmon?
At its core, a salmon sushi bake is a deconstructed sushi roll turned into a hearty casserole. It features layers of perfectly seasoned sushi rice, flaked salmon, creamy toppings, and crunchy garnishes baked to perfection. Unlike traditional sushi, which requires meticulous rolling, this dish is all about layering and baking making it ideal for beginners and sushi lovers alike.
The beauty of a salmon sushi bake lies in its versatility. You can adapt it to suit different dietary preferences, spice levels, and ingredient availability. Plus, it’s a fantastic way to enjoy sushi-inspired flavors without leaving the comfort of your home.
Ingredients You’ll Need
Before you get started, gather these simple yet flavorful ingredients:
| Ingredient | Quantity | Purpose |
|---|---|---|
| Cooked sushi rice | 3 cups | Forms the foundation of the bake |
| Salmon fillet (baked) | 1 lb | Adds protein and rich flavor |
| Kewpie mayo | ½ cup | A creamy base for the topping |
| Sriracha sauce | 2 tbsp | Provides a spicy kick |
| Soy sauce | 2 tbsp | Enhances umami flavor |
| Furikake | 2 tbsp | Adds crunch and savory taste |
| Nori sheets (optional) | For serving | Completes the sushi experience |
Substitutions:
- For a vegan version, substitute salmon with seasoned tofu or roasted jackfruit.
- Use tamari or coconut aminos instead of soy sauce for a gluten-free option.
- Replace sushi rice with cauliflower rice for a low-carb alternative.
Instructions for sushi bake recipe salmon
Ready to create your masterpiece? Follow these simple steps:
1. Prepare the Rice
Cook sushi rice according to the package instructions. Once cooked, season it with a mixture of rice vinegar, sugar, and salt. Spread the rice evenly in a greased casserole dish.
2. Bake the Salmon
Season the salmon fillet with a pinch of salt and pepper, then bake it in a preheated oven at 375°F (190°C) for about 15-20 minutes, or until it flakes easily with a fork. Let it cool slightly, then shred the salmon into bite-sized pieces.
3. Make the Topping
In a bowl, mix the shredded salmon with Kewpie mayo, sriracha sauce, and soy sauce. Adjust the spice level to your liking by adding more or less sriracha.
4. Assemble the Layers
Spread the salmon mixture evenly over the rice layer in the casserole dish. Sprinkle furikake generously over the top for added texture and flavor.
5. Bake to Perfection
Bake the assembled dish in the oven at 375°F (190°C) for 10-15 minutes, or until heated through and slightly golden on top.
6. Serve and Enjoy
Serve your salmon sushi bake with nori sheets on the side. Use the nori to scoop up portions of the bake for an authentic sushi experience.
Pro Tip: Add sliced avocado, green onions, or sesame seeds as garnishes for extra flavor and visual appeal.
Why You’ll Love Salmon Sushi Bake
1. Easy to Make
Unlike traditional sushi, which can take hours of practice to perfect, this dish is simple enough for anyone to master. No rolling mats or delicate knife skills are required!
2. Customizable
Whether you prefer mild flavors or spicy heat, you can adjust the ingredients to suit your taste buds. It’s also a fantastic way to use up leftover salmon or other proteins.
3. Crowd-Pleasing
Perfect for parties, potlucks, or family dinners, this dish is a guaranteed hit. Its unique presentation and rich flavors make it a conversation starter.
Pairing Suggestions
To elevate your meal, pair your salmon sushi bake with these complementary sides:
- Miso Soup: A warm and savory soup to balance the richness of the bake.
- Cucumber Salad: A refreshing side with a tangy sesame dressing.
- Pickled Ginger: Cleanses the palate between bites.
For beverages, consider green tea, sake, or sparkling water infused with lemon for a refreshing contrast.
Storing and Reheating Leftovers
This dish is just as delicious the next day! Follow these tips for storage and reheating:
- Storage: Transfer leftovers to an airtight container and refrigerate for up to 3 days.
- Reheating: Warm individual portions in the microwave or oven until heated through. Avoid overcooking to maintain the creamy texture.
Salmon Sushi Bake Recipe Recap
Prep Time: 15 minutes
Cook Time: 35 minutes
Total Time: 50 minutes
Servings: 6
Calories: 320 per serving
Nutrition Information (Per Serving)
- Calories: 320
- Total Fat: 15g
- Saturated Fat: 3g
- Protein: 18g
- Carbohydrates: 28g
- Fiber: 1g
- Sugar: 2g
- Sodium: 620mg
Recipe Categories
- Course: Main Dish
- Cuisine: Japanese-Inspired
- Diet: Gluten-Free (with substitutions), Pescatarian
- Method: Baking
- Keyword: Salmon Sushi Bake, Deconstructed Sushi, Sushi Casserole
- Skill Level: Beginner-Friendly
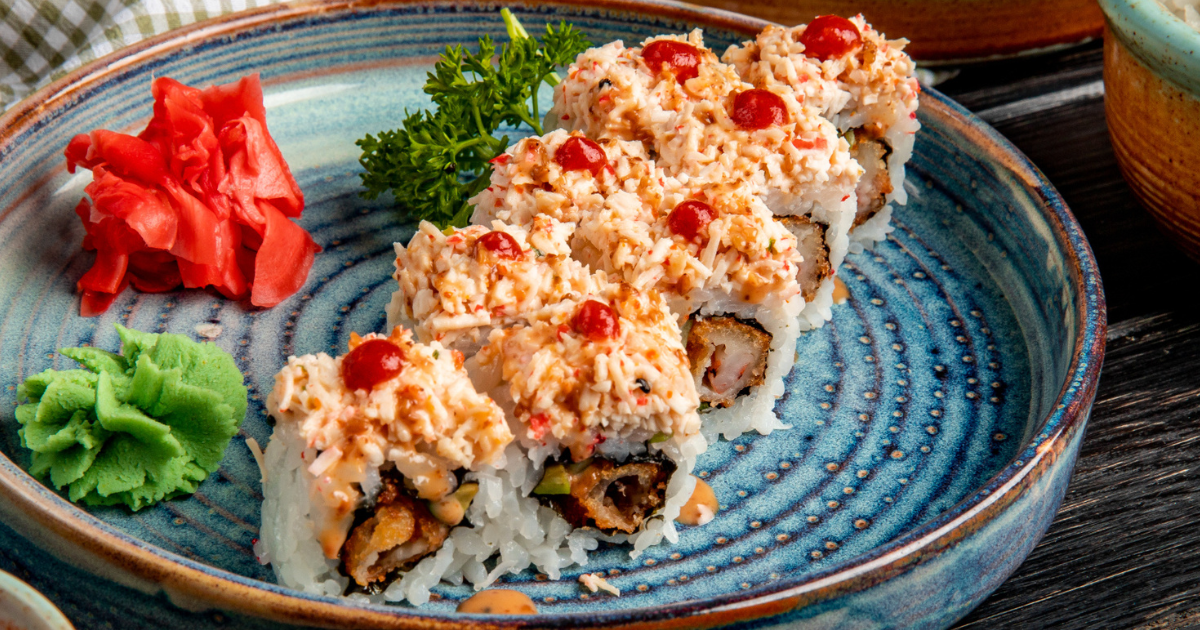
salmon sushi bake recipe
Ingredients
- 3 cups Cooked sushi rice Forms the foundation of the bake
- 1 lb Salmon fillet (baked) Adds protein and rich flavor
- ½ cup Kewpie mayo Adds protein and rich flavor
- 2 tbsp Sriracha sauce Adds protein and rich flavor
- 2 tbsp Soy sauce Enhances umami flavor
- 2 tbsp Furikake Adds crunch and savory taste
- Nori sheets (optional) Completes the sushi experience
Instructions
Prepare the Rice
- Cook sushi rice according to the package instructions. Once cooked, season it with a mixture of rice vinegar, sugar, and salt. Spread the rice evenly in a greased casserole dish.
Bake the Salmon
- Season the salmon fillet with a pinch of salt and pepper, then bake it in a preheated oven at 375°F (190°C) for about 15-20 minutes, or until it flakes easily with a fork. Let it cool slightly, then shred the salmon into bite-sized pieces.
Make the Topping
- In a bowl, mix the shredded salmon with Kewpie mayo, sriracha sauce, and soy sauce. Adjust the spice level to your liking by adding more or less sriracha.
Assemble the Layers
- Spread the salmon mixture evenly over the rice layer in the casserole dish. Sprinkle furikake generously over the top for added texture and flavor.
Bake to Perfection
- Bake the assembled dish in the oven at 375°F (190°C) for 10-15 minutes, or until heated through and slightly golden on top.
Serve and Enjoy
- Serve your salmon sushi bake with nori sheets on the side. Use the nori to scoop up portions of the bake for an authentic sushi experience.
Video
Notes
FAQs About Salmon Sushi Bake
What makes a salmon sushi bake different from traditional sushi?
Traditional sushi involves rolling rice and fillings into neat rolls, while a sushi bake layers the ingredients into a casserole-style dish. This makes it easier to prepare and serve.
Can I use canned salmon?
Yes, canned salmon works well as a substitute for fresh salmon. Just drain and flake it before mixing with the toppings.
How can I make this dish gluten-free?
Use tamari or coconut aminos instead of soy sauce and ensure that other ingredients, such as furikake, are gluten-free.
Can I freeze a salmon sushi bake?
While freezing is possible, the texture of the rice and topping may change slightly upon reheating. It’s best enjoyed fresh or refrigerated for up to three days.
Share Your Salmon Sushi Bake Creations
Now that you know how to make this delicious and easy salmon sushi bake, it’s time to give it a try. Gather your ingredients, preheat your oven, and get ready to impress your taste buds! Once you’ve made your own version, share your creation on social media and tag us with #SalmonSushiBake for a chance to be featured.
Have your own twist on the recipe? Leave a comment below we’d love to hear your ideas!
There are no reviews yet. Be the first one to write one.

